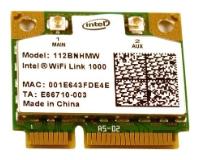
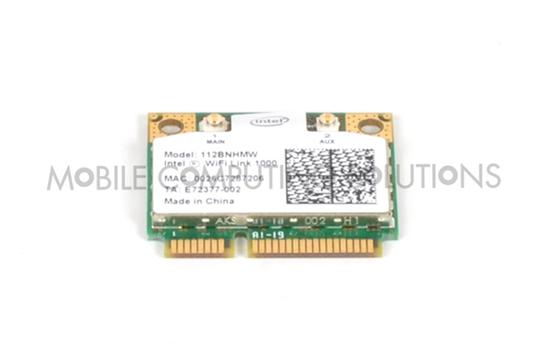
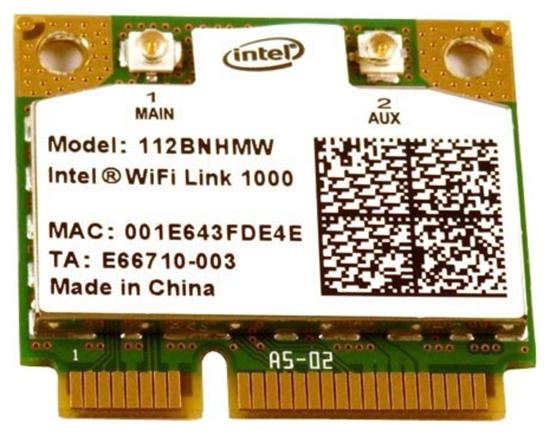
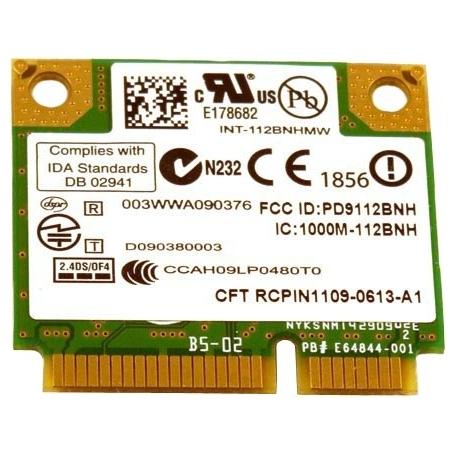
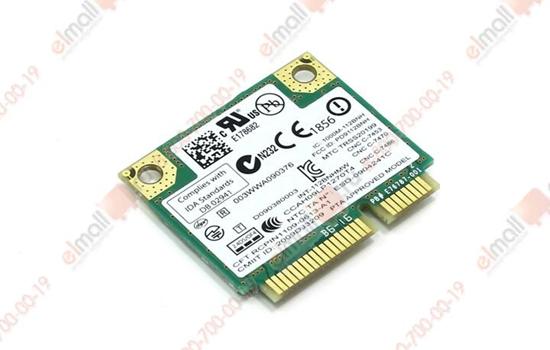
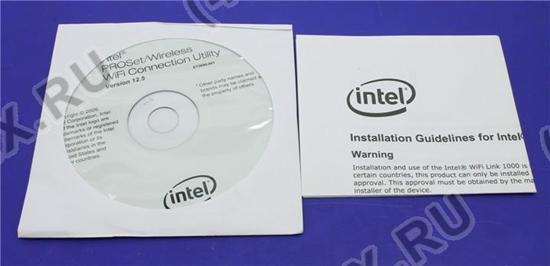
Wi-Fi адаптер Intel 112BNHMW | ||
|

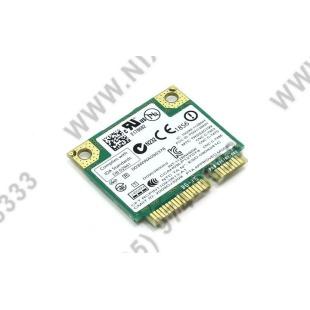
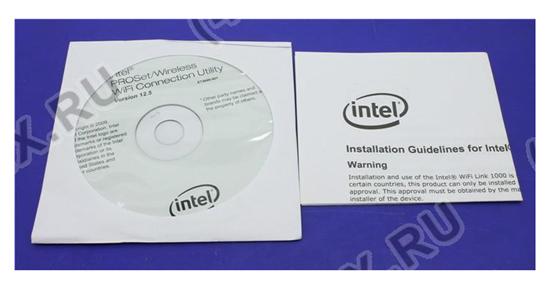
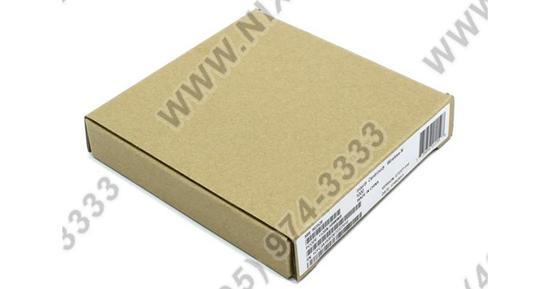
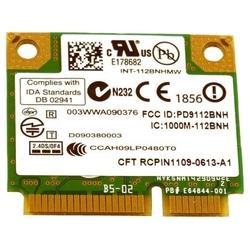
Фотографии Intel 112BNHMW |
             |
Советуем взглянуть |
Настройка и обзор Intel 112BNHMW |
| Dell Inspiron 15R, M5010 NoteBook Disassembly Guide.
How to Remove Hard Disk Drive, How to Remove Mainboard How to Remove Processor Hey Guys I'm out of time for now, will add audio and text instructions along with other parts of this video soon, 1: First remove the Battery and all the visible screws on the back of the system 2: Remove rubber, then screws under 3: There are 4 clips holding the keyboard, they are located under the F keys, (F1 ,F7, KEY AFTER F12, AND HOME KEY )With a fine flat screwdriver gently push back the clips and raise the keyboard up, NOTE: there is an adhesive tape under the left side of the keyboard which is tightly holding it in place, raise the right side and try to pry it off with a prying tool, look at the video to see the location of the tape. 4: Remove the 5 screws which is holding the top cover and Disconnect the cables...mouse, usb, video...etc... Take Top cover off. 5: Remove Hard Disk. 6: Locate the 2 screws holding the Mainboard and remove then, ensure all cables are Disconnected and Remember to push the clip holding the MoBo in place. Remove the Mainboard. 7: Remove the Heatsink from the CPU, Unlock the Socket and Remove the Processor For all those people struggling to get their HD out, hope it helps, Will add move details soon. That's all the time I have for now, |
| Hi! No music. No talking. Just work. If you are taking your ASUS K50 laptop apart be careful and wear an anti-static wrist band or use other anti-static device. If you need to change a LCD usually you don't have to take screen out of a laptop. You can leave it on a laptop and watch the last part of the video where I am taking LCD apart. If you need to change a keyboard, you don't have to take all bottom screws out. There are usually some marks, like a keyboard picture, on a case bottom. If you need to put a laptop back to work be aware of screws. They are different and you better remember or mark them somehow to insure that you will put them back in to a right place. Some laptops I take apart first time, so don't be serious on my time and performance. If something got broken - ooops, it's your fault. Believe me, some parts in your laptop are already broken, you just don't see that. So, just watch this video and fix your laptop. Have fun and good luck!! regazzz |
| This video demonstrates and explains the use of the FCC ID database for discovering the WLAN chipset of a Wi-Fi product. The FCC ID is unique to each product, and the FCC provides photos that show the internal composition of a product. |
| Zu Startseite des eBay Shops: ... Artikel: ... Netzbuchse Reparatur f?r Notebooks / Laptops Alle Marken und Hersteller Acer HP /Toshiba Nexoc / Dell Samsung Elitegroup / ECS Asus / Apple PowerBook / Fujitsu Siemens Computers NEC / Sony m?gliche Probleme: -hat das Ger?t einenWackelkontakt -Ist die Netzbuchse Abgebrochen -Eine Extereme ?berhitzung der Buchse oder des Adapteranschlusses detailierter Ablauf: 1. Abschliessen des Sofortaufs 2. Sie bekommen eine Verkauftsbest?tignungs-Email 3. Sie bekommen innerhalb von 12 Std. auf ihre Ebay hinterlegte Email Adresse ein Auftragsformular 4. Sie f?llen das Formular m?glichst vollst?ndig aus 5. Sie verschicken ihr Ger?t gut verpackt als versichertes Paket mit dem ausgef?llten, unterschriebenen Formular an uns 6. Nach einer erfolgreichen Reperatur werden sie informiert und sie k?nnen dann die Zahlung an uns t?tigen. 7. Falls keine Reperatur m?glich sein sollte, werden wir sie auch informieren und ihr Ger?t wieder versichert an sie zur?ck senden (Bei einer nicht Reperatur entstehen ihnen nur die R?ckversandkosten). Zusatzinformation zum Ablauf: -Die Reperatur dauert in der Regel 2-3 Tage -Der Versand erfolgt sp?testens 2 Tagen nach Geldeingang -Bitte darauf achten, dass ihre Email Adresse immer aktuell ist -Denken Sie bitte daran, dass ein Paketversand in der Regel 1-3 Tage dauern kann -Eine ?berweisung per Bank kann ebenfalls bis zu 3 Tagen dauern |
|
Просмотров: 5423 Ключевые слова:
Оценка Intel 112BNHMW на WiFiRouters.ru:
2
из
5
на основе
45 оценок.
|
| Рубрики | |
 Инструкция по эксплуатации Intel 112BNHMW Инструкция по эксплуатации Intel 112BNHMW | |
| Установка и настройка роутера Intel 112BNHMW | |
| Прошивка Intel 112BNHMW | |
| Как подключить роутер Intel 112BNHMW | |
Часто задаваемые вопросы (FAQ) |
|
|
Обзор Intel 112BNHMW (видео) | |
Дополнительные видео | |||||
|
")


Популярные запросы |


